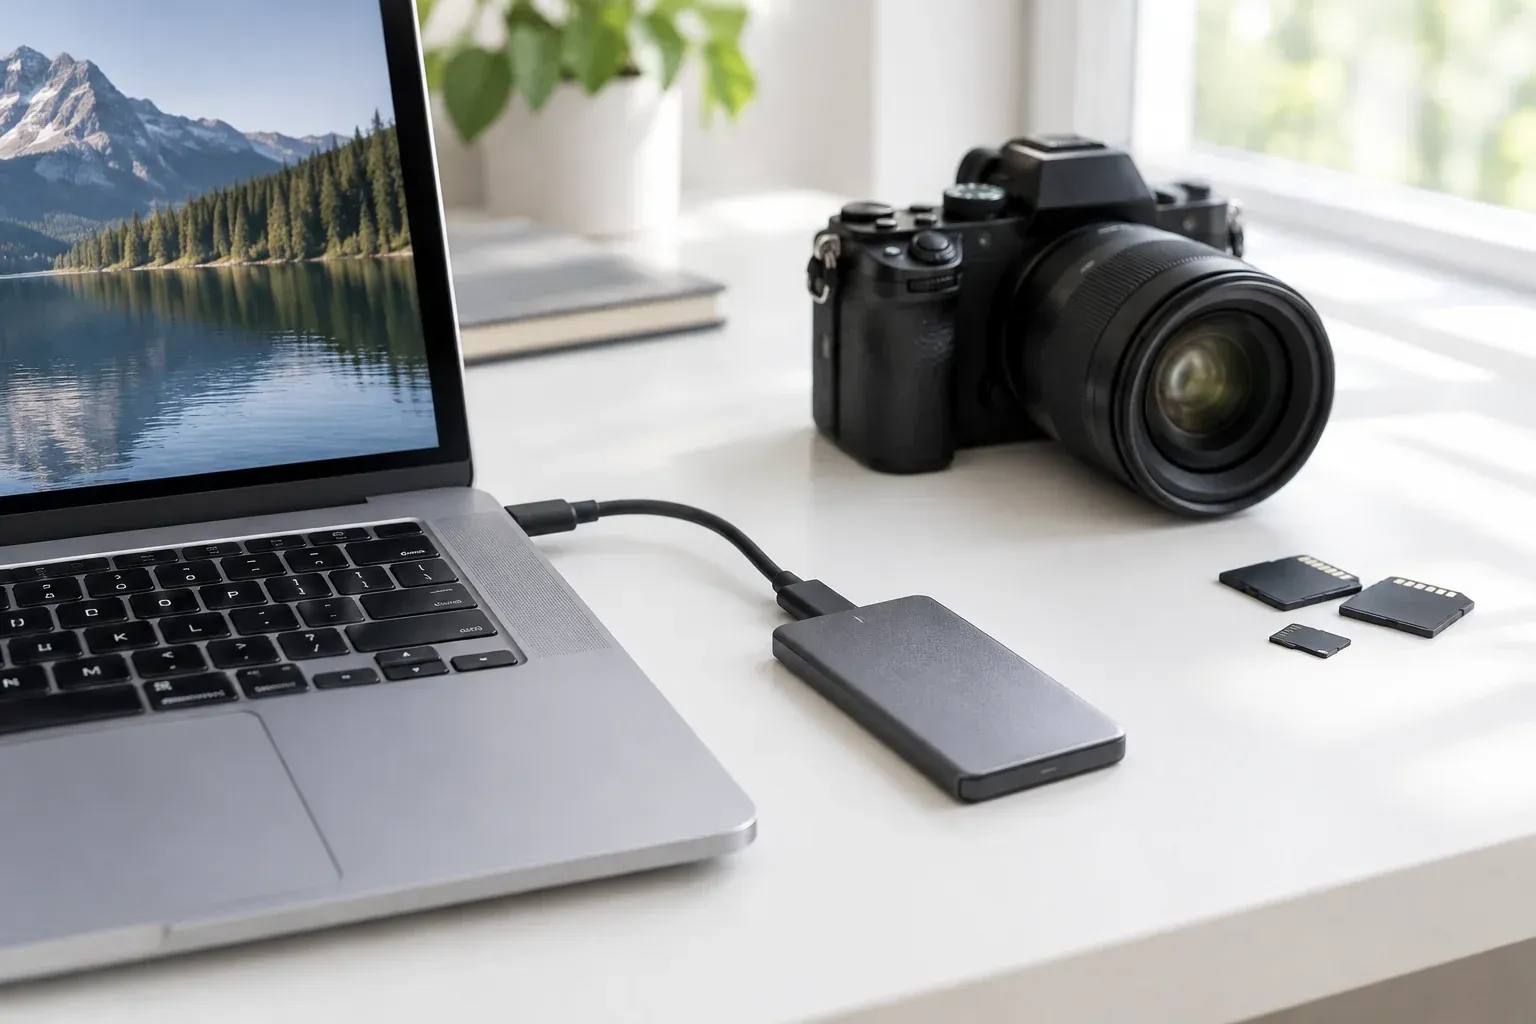
Backing Up Your Photos to a Portable SSD
A photo library usually lives in one place until something goes wrong: a phone is lost, a laptop drive fails, or a cloud account is locked. A portable SSD is one of the easiest ways to make sure that one problem never takes every copy with it.
The 3-2-1 rule is the standard way to think about backups. Keep three copies of anything you care about, on two different kinds of storage, with one copy kept somewhere else. For most households that means the originals on a computer, a second copy on a portable SSD, and a third copy in a cloud service or on another drive kept at a relative's home or at work.
Portable SSDs suit this job because they have no moving parts, so a short drop is far less likely to damage them than it would a spinning hard drive. They are also fast. Over a USB-C port that supports 10 Gbps, a large folder of photos copies in minutes rather than the better part of an hour. Check what your computer's ports support, since the drive can only run as fast as the slowest link, and use the cable that came with the drive.
Size the drive for growth. Add up your current photo and video library, then choose a drive with at least twice that capacity. Video in particular fills space quickly, and a backup drive that is nearly full gets skipped.
Before the first backup, decide how to format the drive, because the file system controls which computers can use it. exFAT works for reading and writing on both Mac and Windows computers, which makes it the practical choice if the drive moves between them. Its weakness is that it does not keep a journal, so pulling the cable during a copy can corrupt files. APFS is the native format for current Macs and is required for some Mac backup tools, but Windows cannot read it without extra software. NTFS is the native format for Windows; a Mac can read files from an NTFS drive but cannot write to it out of the box. If the drive stays with one computer, use that computer's native format. If it travels, use exFAT and always eject it before unplugging.
Reformatting erases the drive, so do it once, at the start, before any photos are on it.
Next, choose how the copies happen. The built-in backup tools on Mac and Windows can run on a schedule and keep older versions of files, which protects you against accidental edits and deletions as well as drive failure. A plain drag-and-drop copy is simpler to understand but only captures the moment you made it. Whichever you use, keep the folder structure the same as on your computer so you can find things later.
A backup you have never opened is a guess. After the first copy, open a handful of photos and videos straight from the SSD, including some of the oldest and largest files. Repeat this check every few months.
Finally, give the backup a routine. Plug the drive in on the same day each week or after every trip, let the copy finish, eject it, and put it away from the computer. Store it somewhere cool and dry, and replace it if it starts showing errors. The few minutes this takes are what turn a drive in a drawer into a real safety net.


